A segmented control shows a horizontal list of items. Each segment looks like a button. The segments remains “pressed” even after the user lifts his finger.When a different segment is tapped, its corresponding value can be obtained.
Segmented control comes in handy when you want to show/hide different data without changing the current view.For e.g you can have a set of images and you display only one when a segment is selected. When you select a different segment, depending on that, the picture changes.
Segmented control comes in handy when you want to show/hide different data without changing the current view.For e.g you can have a set of images and you display only one when a segment is selected. When you select a different segment, depending on that, the picture changes.
So lets get started.:
Step 1:Start Xcode and create a view based application with name “SegmentedControlDemo”.
Step 2:Open the “SegmentedControlDemoViewController.h” file and put the following code in it.
Here, we have declared a label and segmented control and set properties and outlets for both of them.
Step 3:Open the “SegmentedControlDemoViewController.m” file. Synthesize both the properties and release them.Also provide the implementation for segmentedControlIndexChanged method.
In the segmentedControlIndexChanged method, we have used a switch case which switches the selected segment index of the segmented control. For each case, we have set the text of the label to the respective segment selected.
Step 4: Save(command+s) the project.Now open the “SegmentedControlDemoViewController.xib” file from the Resources folder. Drag and drop a label and a segmented control from the library on the view as shown below. Stretch the edges of the label so that it becomes long enough to display “Segment x selected.”
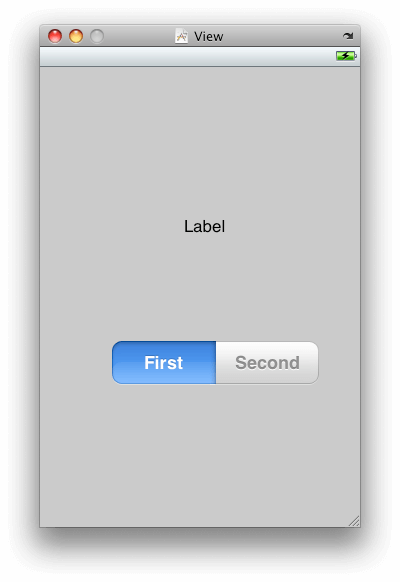
Xib after adding segmented control and label
Note: If you want more than two segments in the segmented control, go to Attributes Inspector for segmented control and change the value for Segments field.
Step 5:Select the File’s Owner in the xib window and open its Connections Inspector(command+2) and make the following connections.
Connect segmentControl to segmented control and segmentLabel to label. The Connections Inspector for File’s Owner will then look like this:

Connections
Step 6: Open the Connections Inspector for segmented control and link the value changed argument to the segmentedControlIndexChanged method in the File’s Owner.
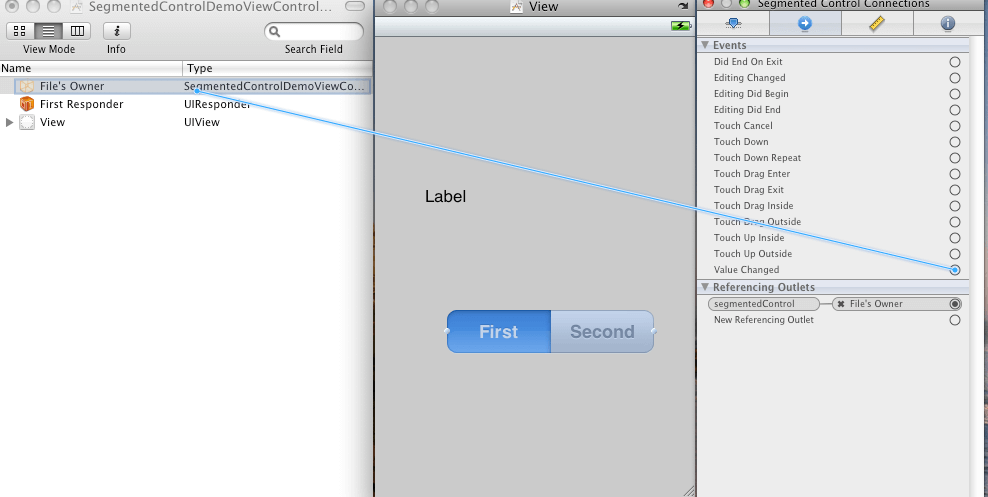
Connection
Step 7: Build and run the project. You will see that when you tap different segments of the segmented control, the text of the label changes.
You can download the source code here.
OUTPUT:
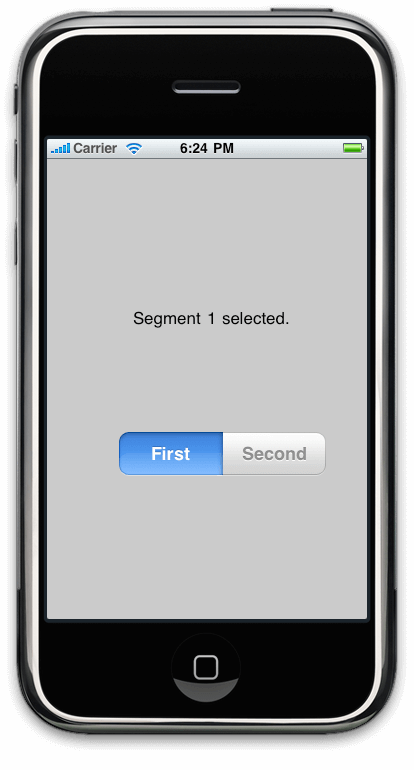
Output1
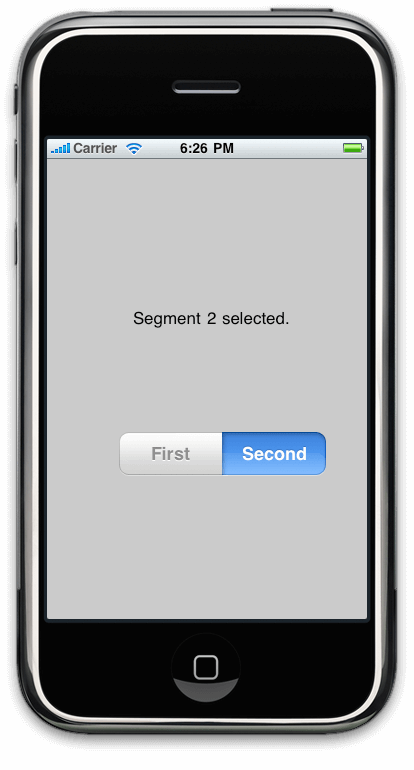
Output2
Thats all folks! You are now ready to meddle with segmented control.
This comment has been removed by the author.
ReplyDeleteThis is very great blog.
DeleteMobile App Support Maintenance Services
Thank you!
ReplyDeletehttps://whitelabelfox.com/ubereats-clone-app/
Thank you
ReplyDelete